make over with German technology
Call (+9122) 2500 7829 and experience the magic
Detailed illustration with specifications of all our product range
- Accurate, straight corner angles
- Gives structural support and reinforcement to the corners and walls.
- Smooth even-surfaced walls
- more...
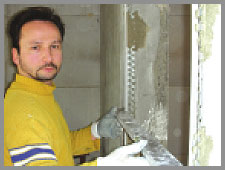
DEMO: USING THE CORNER BEAD FOR DRY LINING |
 |
|
 |
|
 |
| Apply water on the corner, to make it dust-free. |
|
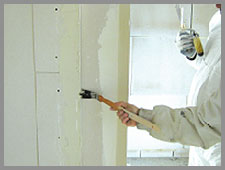
Measure the length of the corner bead, in proportion to the wall. Cut the bead to the required length, using the proper tool (plier). The upper corner should be cut to 45-degrees on both sides. Apply Gypsum plaster along the length of the wall, with equal gaps in between. Apply the plaster generously to the top and end. |
|
Secure the bead onto the corner, by pressing it gently, with your hands. |
| |
|
|
|
|
 |
|
 |
|
|
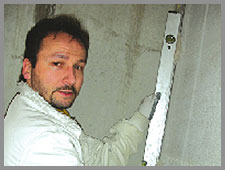
| Using a Level Bottle, check that the bead is fitted to the corner of the wall, at a 90 degree angle position. |
|
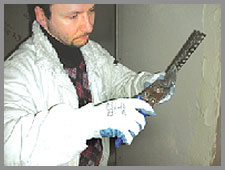
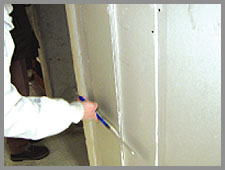
Use the trowel along the corner beads, in order to apply the plaster evenly. |
|
|
|
| |
DEMO: USING THE SQUARE HOLE ANGLE BEAD FOR EXTERIOR WET LINING |
 |
|
 |
|
 |
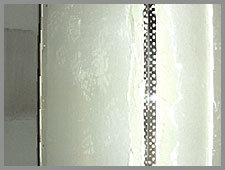
| Apply the civil mixture clad equi distant at four places along the brick
wall corner. |
|
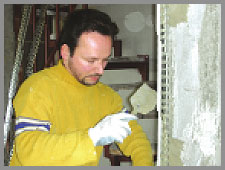
Fix the corner bead gently on the clad as shown above. |
|
Using a Level Bottle, check that the bead is fitted to the wall, at a straight angle position. |
| |
|
|
|
|
 |
|
 |
|
|
| Repeat the process 1 - 3 to install the second corner bead. |
|
This gives a reference guideline to the applicator for plastering. |
|
|
|